3D Character Design & Modeling
1. Review the brief and references
I gather references for anatomy, clothing, hairstyles, and materials. I check which details need to match the concept, how close the camera will get, and how the character needs to move. For real-time projects, I also establish the target polygon count and texture sizes.
2. Block out the silhouette and proportions
I use simple shapes to establish the head, torso, limbs, and major costume pieces. I check the front, side, and three-quarter views to see whether the proportions feel right and the silhouette reads clearly.
3. Sculpt the character and build the outfit
I refine the anatomy, facial features, and hands, then model the clothing, hair, and accessories. I work from large forms down to details such as fabric folds, stitching, and seams. I check that those details fit the character’s style and make sense for the materials.
4. Build clean topology
I rebuild the sculpt into a mesh suited to the final project. I place edge loops around the eyes, mouth, shoulders, and joints so those areas can deform cleanly when rigged. For game characters, I spend polygons where they improve the silhouette or support movement.
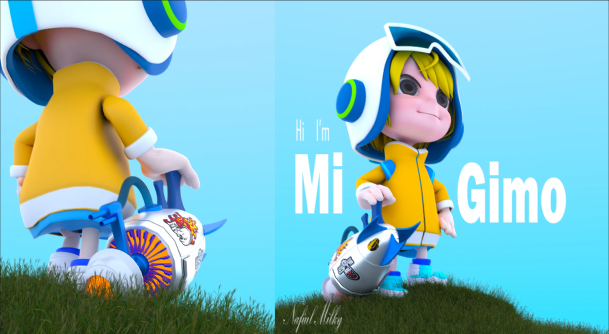
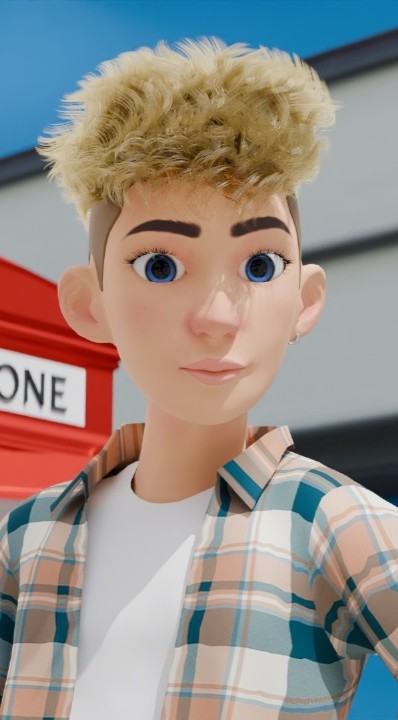
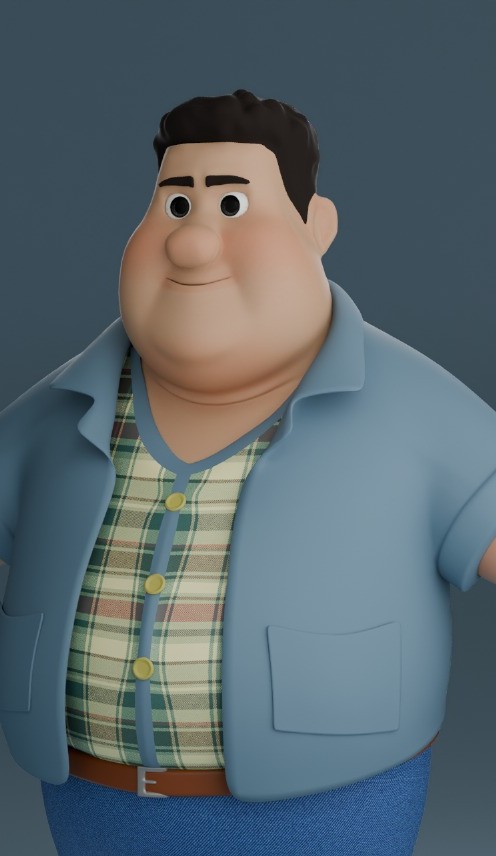
I build 3D characters from concept art, sketches, and reference images. I start by understanding who the character is and how it will be used. That guides the proportions, the details I sculpt, and how I prepare the model for texturing, rigging, or rendering.